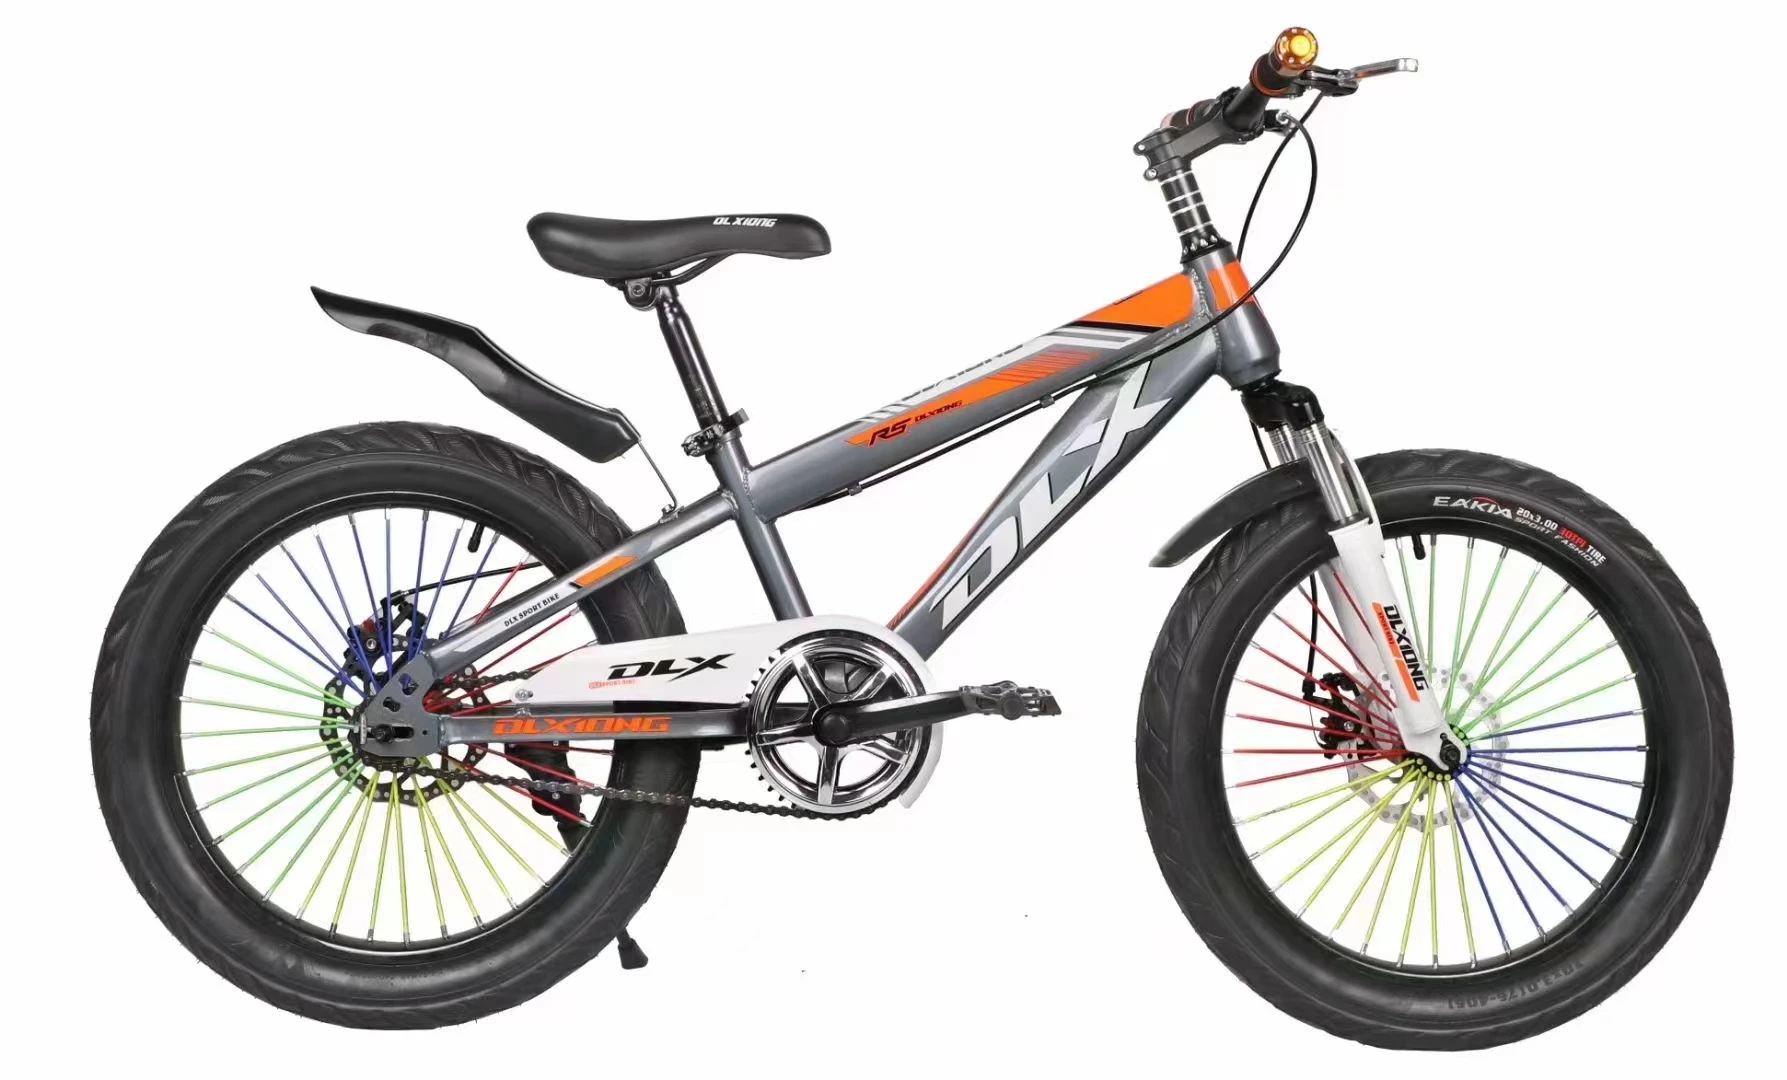
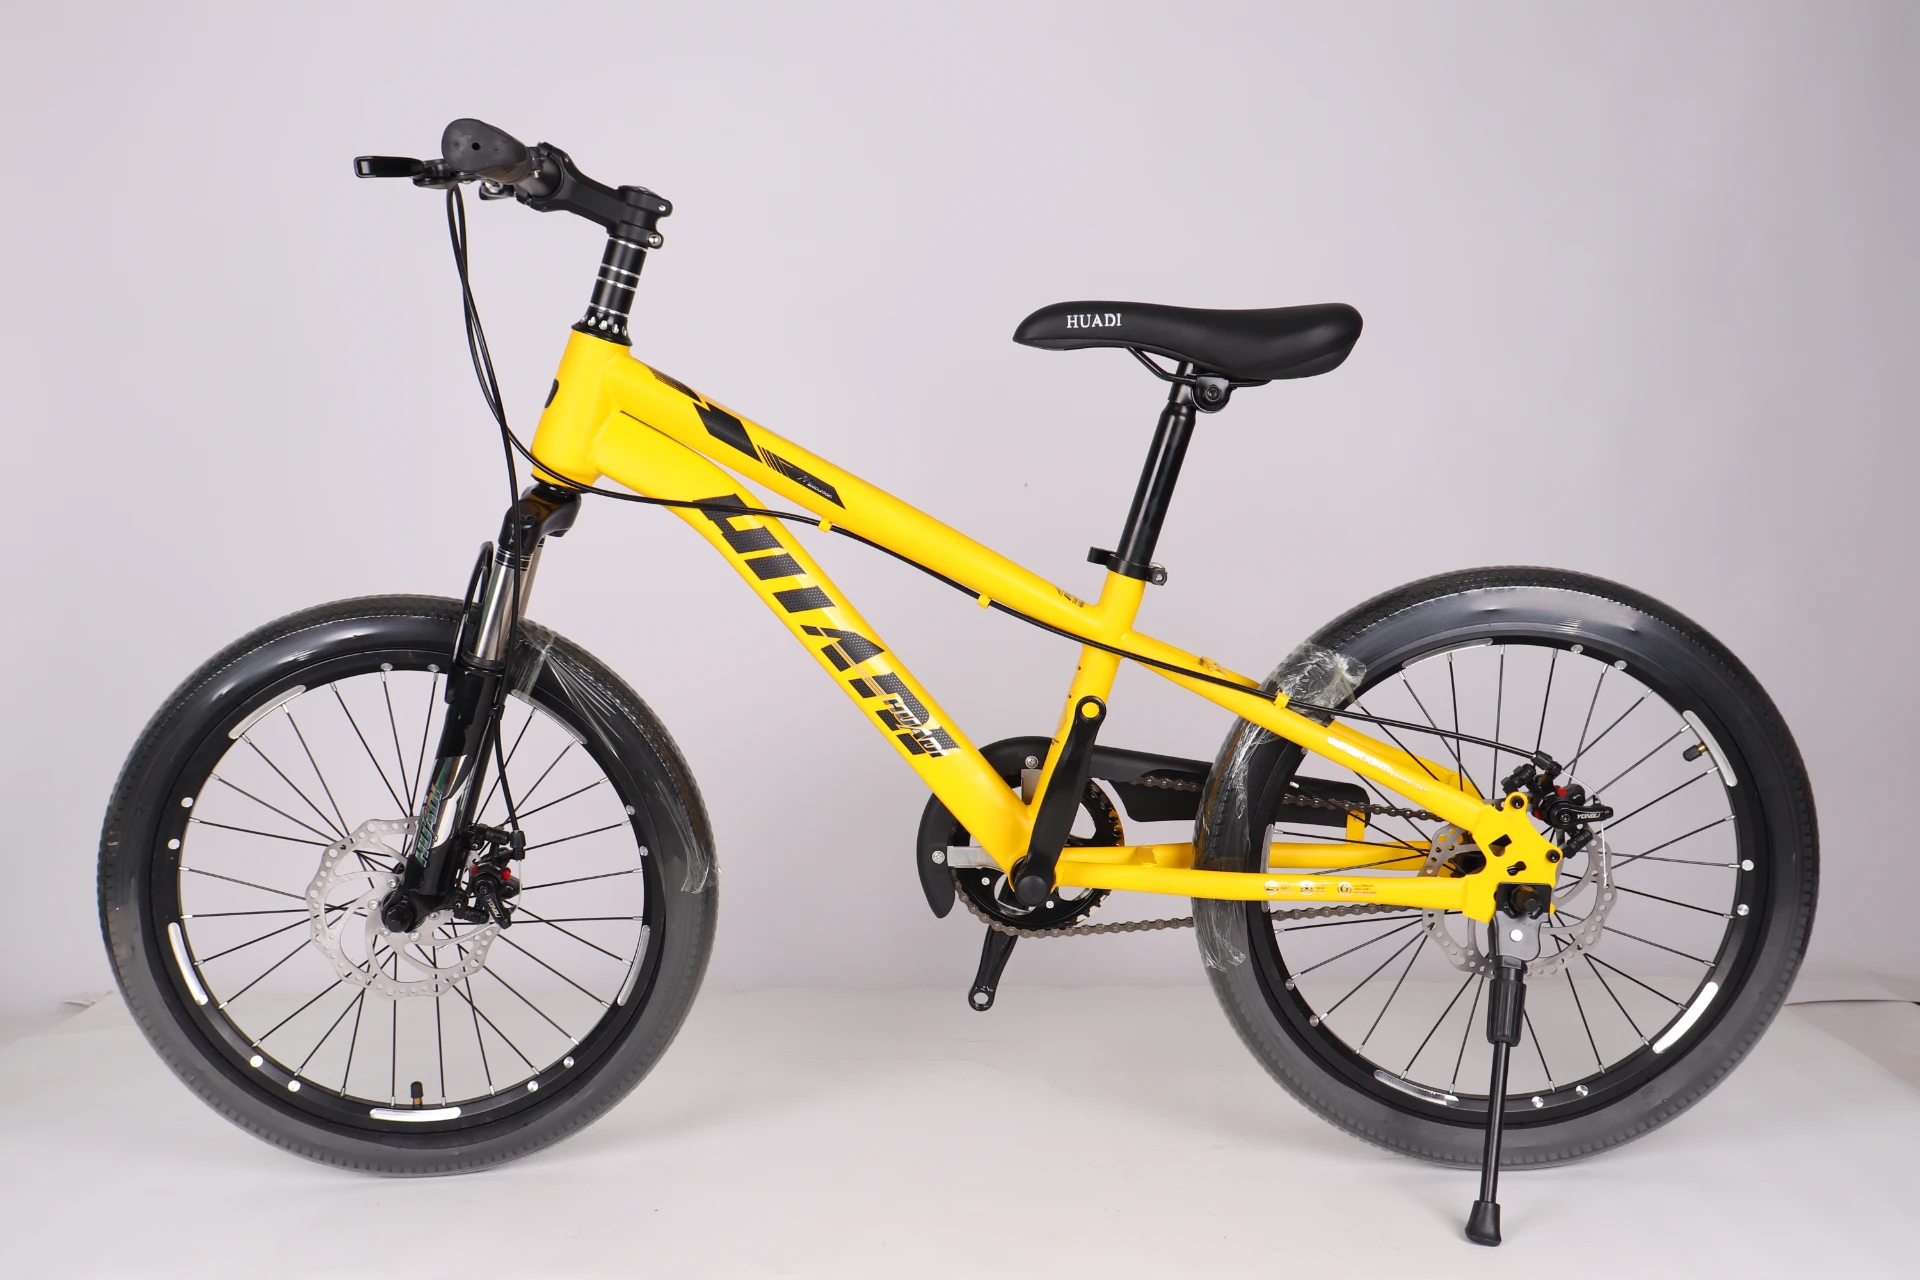
mountain bike size chart
Understanding Mountain Bike Size Charts A Comprehensive Guide
Choosing the right mountain bike can be a thrilling yet challenging experience. With the plethora of choices available, one of the fundamental factors to consider is the size of the bike. A bike that fits you well can enhance your comfort, performance, and enjoyment on the trails. This is where mountain bike size charts come into play. In this article, we will delve into how to interpret size charts, why they are essential, and tips for finding your perfect fit.
Importance of Mountain Bike Sizing
A properly sized mountain bike ensures optimal handling, comfort, and pedaling efficiency. Riding a bike that is too small can lead to discomfort and reduced control, while a bike that is too large may make it difficult to maneuver, increasing the risk of accidents. Size charts serve as a valuable tool to help riders select a bike that matches their body dimensions—particularly their height and inseam length.
How to Read Mountain Bike Size Charts
Most mountain bike size charts categorize bikes into sizes such as XS (extra small), S (small), M (medium), L (large), and XL (extra large). These categories are generally defined by the rider's height and inseam length. Here’s a breakdown of the general sizing guidelines
1. XS (Extra Small) Typically for riders 4'10 to 5'2 tall with an inseam of 25 to 28 inches. 2. S (Small) Suitable for riders 5'2 to 5'6 tall with an inseam of 28 to 30 inches. 3. M (Medium) Designed for riders 5'6 to 5'10 tall with an inseam of 30 to 32 inches. 4. L (Large) Best for riders 5'10 to 6'1 tall with an inseam of 32 to 34 inches. 5. XL (Extra Large) Ideal for those 6'1 and taller with an inseam of 34 inches or more.
Measuring for the Perfect Fit
mountain bike size chart
To ensure you choose the right size, you will need to take two measurements
1. Height Stand against a wall and measure from the floor to the top of your head. Make sure you're standing straight and your head is level. 2. Inseam Stand with your feet about shoulder-width apart and measure from the floor to your crotch. This measurement is crucial for ensuring adequate clearance when mounting and dismounting the bike.
Once you have these measurements, refer to the manufacturer’s size chart specific to the bike you’re considering. It's important to note that sizing can vary between different brands and models, so always check the specific bike's chart.
Additional Considerations
While the size chart provides a solid starting point, personal preferences play a significant role in determining the right fit. Mountain biking involves various riding styles and terrain types, which can influence handlebar height, saddle position, and reach. Here are some additional tips
1. Test Ride If possible, take a demo ride on the bikes you’re considering. This is one of the best ways to determine how a bike feels. 2. Adjustability Look for bikes with adjustable components, such as seat height and handlebar position. These features can accommodate different body types and riding styles. 3. Seek Advice Don’t hesitate to ask professional staff at bike shops for help. They can provide valuable insights and guide you in selecting the correct size.
Conclusion
Choosing the right mountain bike size is essential for both safety and enjoyment on the trails. By utilizing size charts and measuring yourself accurately, you can make an informed decision that suits your body and riding style. Remember that while a size chart is a valuable guide, individual preferences and adjustments can further enhance your riding experience. So, gear up, hit the trails, and enjoy the ride!
-
Three-Wheel Light-Up Scooter Benefits for KidsNewsJul.11,2025
-
The Importance of Helmet Safety When Using a Kids ScooterNewsJul.11,2025
-
Nurturing Early Mobility with an Infant ScooterNewsJul.11,2025
-
How to Choose the Safest Tricycle for KidsNewsJul.11,2025
-
Fixing a Squeaky Baby Push Tricycle in MinutesNewsJul.11,2025
-
Cleaning and Maintaining a Tricycle for Big KidNewsJul.11,2025
-
Unleash Fun and Safety with Our Premium Kids Scooter CollectionNewsJun.06,2025


