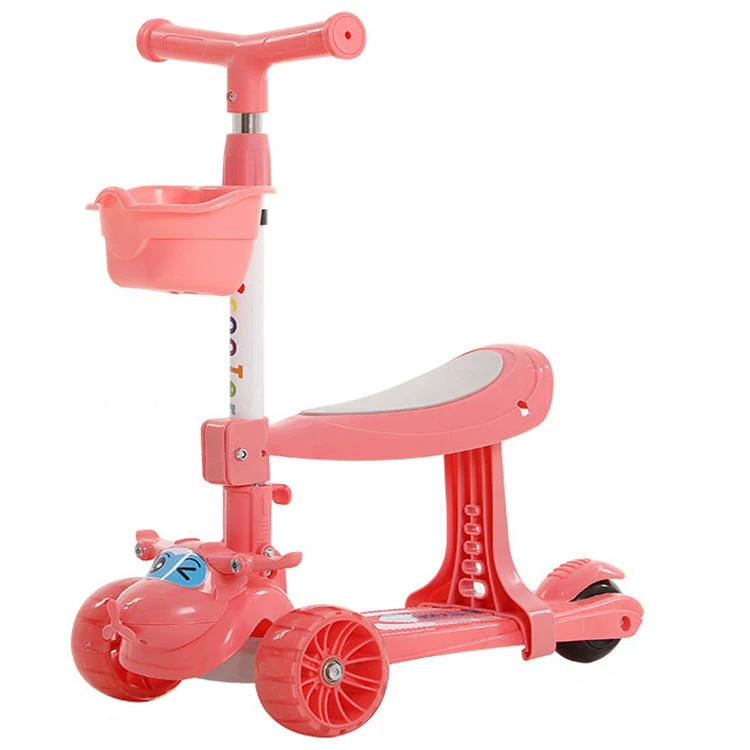
Tips for Helping Children Learn to Ride a Balance Bike Effectively and Confidently
How to Teach a Kid to Ride a Balance Bike
Teaching a child to ride a balance bike can be a rewarding experience, both for the child and the adult involved. Balance bikes are a fantastic way to introduce the concept of cycling since they focus on developing balance and coordination before a child transitions to a pedal bike. Here’s a step-by-step guide on how to teach your kid to ride a balance bike.
Step 1 Choose the Right Balance Bike
The first step in teaching a child to ride is selecting the right balance bike. Ensure the bike is the appropriate size for your child; they should be able to straddle the bike with both feet flat on the ground. The seat height should be adjusted so that your child can comfortably touch the ground with their feet while sitting. Lightweight bikes are also preferable, as kids will find them much easier to maneuver.
Step 2 Safety First
Before your child hops on their balance bike, it’s important to prioritize safety. Equip them with a properly fitting helmet to protect their head in case of falls. Additionally, consider elbow and knee pads, especially for beginners who may experience a few tumbles while learning.
Step 3 Find a Suitable Location
The ideal location for your child to practice on their balance bike should be flat, open, and free from traffic. A park, large backyard, or an empty parking lot is often perfect. Make sure the surface is smooth, as rough terrain can be challenging for beginners. The goal is to eliminate as many potential hazards as possible for a more relaxed learning experience.
Step 4 Get Them Comfortable
Before riding, let your child explore the balance bike while walking with it. Teach them to walk the bike by moving it forward and backward. This will help them to become familiar with the bike’s weight and mechanics. Encourage them to practice sitting on the bike and walking with their feet, ensuring they feel comfortable and confident.
how to teach kid to ride balance bike

Step 5 Progress to Gliding
Once your child is comfortable walking with the bike, it’s time to introduce gliding. Encourage them to push off with their feet and lift them off the ground for brief moments. You might say something like, “Now, give it a good push with your feet and see how long you can go without touching the ground!” Keep it playful and positive; celebrate their successes to build their confidence.
Step 6 Balance and Steering Practice
As your child gains confidence in gliding, focus on balance and steering. Encourage them to lift their feet off the ground for longer and direct the bike straight ahead. It’s important to emphasize leaning slightly in the direction they want to go. Make sure they are looking ahead instead of down at their feet, which can help maintain their balance.
Step 7 Gradually Increase Challenges
Once your child is able to glide and steer confidently, you can gradually introduce challenges. Set up gentle slopes for them to practice going downhill, which will help them develop a feel for speed and control. Encourage them to apply the brakes, teaching them how to stop safely. Use fun checkpoints or targets for them to ride towards to keep their interest alive.
Step 8 Celebrate Progress
Throughout the process, it is important to celebrate your child’s achievements, no matter how small. Praise their efforts and encourage them when they face difficulties. The more positive feedback they receive, the more motivated they will be to continue learning.
Conclusion
Teaching a child to ride a balance bike involves patience, encouragement, and plenty of practice. By selecting the right bike, ensuring safety, and gradually introducing skills, you can help your child master the art of balance biking. With time and perseverance, they will gain the confidence and skills needed to transition to a pedal bike when they’re ready. Remember, the journey of learning is just as important as the destination, so enjoy the process and create lasting memories together!
-
Baby Balance Bike OEM Service – Kids No-Pedal, LightweightNewsNov.10,2025
-
OEM Kids Bike Children Bicycle – Cheap Wholesale BicyclesNewsNov.10,2025
-
Kids Bike New Model 12–18 inch Boys & Girls Bike, AdjustableNewsNov.10,2025
-
China Cheap Price Safe Kids Bike for 10yo w/ Training WheelsNewsNov.10,2025
-
China CE-Certified Kids Balance Bike, Guaranteed QualityNewsNov.10,2025
-
Colorful Outdoor Flashing Carton Children Scooter for KidsNewsNov.10,2025
-
Best Price Kids Balance Bike – Superior Quality, No PedalsNewsNov.10,2025


